Getting Started with the Interactive Experimenting Environment
In the AI Starter Kits, we mainly work in so-called Jupyter Notebooks. The Jupyter Project is a non-profit, open-source project born in 2004. Jupyter Notebook, that was developed within the project, is an open-source web application that allows you to create and share documents that contain live code, equations, visualizations and narrative text [1].
If you have never worked with Jupyter Notebooks before, we invite you to read this short tutorial before starting with the actual content of the AI Starter Kits. We provide you some short explanations on how to use the web application to run the python code that was developed.
How to get started?
For the AI Starterkits, getting started is very easy! Just click at the link provided on the platform and it will bring you directly into Jupyter Hub, which hosts the Jupyter Notebooks for the Starter Kits. For each Starter Kit, we created a so-called environment in which all libraries needed are already installed such that you do not need to take care of this at all. You can get started straight away.
How to use the Jupyter Notebooks?
Before we have a look at the notebooks themselves, we first have a brief look at the toolbar at the top of each notebook as shown in the following figure. The toolbar provides all buttons to interact with the code in a notebook. We go through the single buttons step by step.

Important to understand is that each Jupyter Notebook consists of different cells. In each cell, you can execute a batch of code. In order to create a new cell, you simply click at the
button and a new code cell will appear in the notebook. Try it yourself and create a new cell.
You notebook should look like this now:

In this cell, we can execute a simply command like print("Hello World!") and execute it by pushing the
or more easily by pushing the combination SHIFT + Enter.
Congratulations, you just executed your first python command in a Jupyter Notebook! Just below the cell, the result in shown: In this case, the words 'Hello World!' are printed. Additionally, a new cell was automatically created just below the former one. Of course, we can also execute several commands within one cell. For this, please enter the following lines in the next cell:
a = 5
a
b = 3
a + b
Before you execute the cell, think about the output you expect.

Was the output as expected? Or did you expect to also see the value of a? Keep in mind that Jupter Notebook will always return the last executed command only. In case you also want to see the value of a, you need to wrap a print(a) command around it.
How to add documentation to your notebook?
In order to increase the readability of the notebook, it helps to add some documentation around the single commands. This can be helpful in case you want to share the notebooks with others and want to explain why you performed a given command.
The easiest way to to this is my changing the cell output in the toolbar:
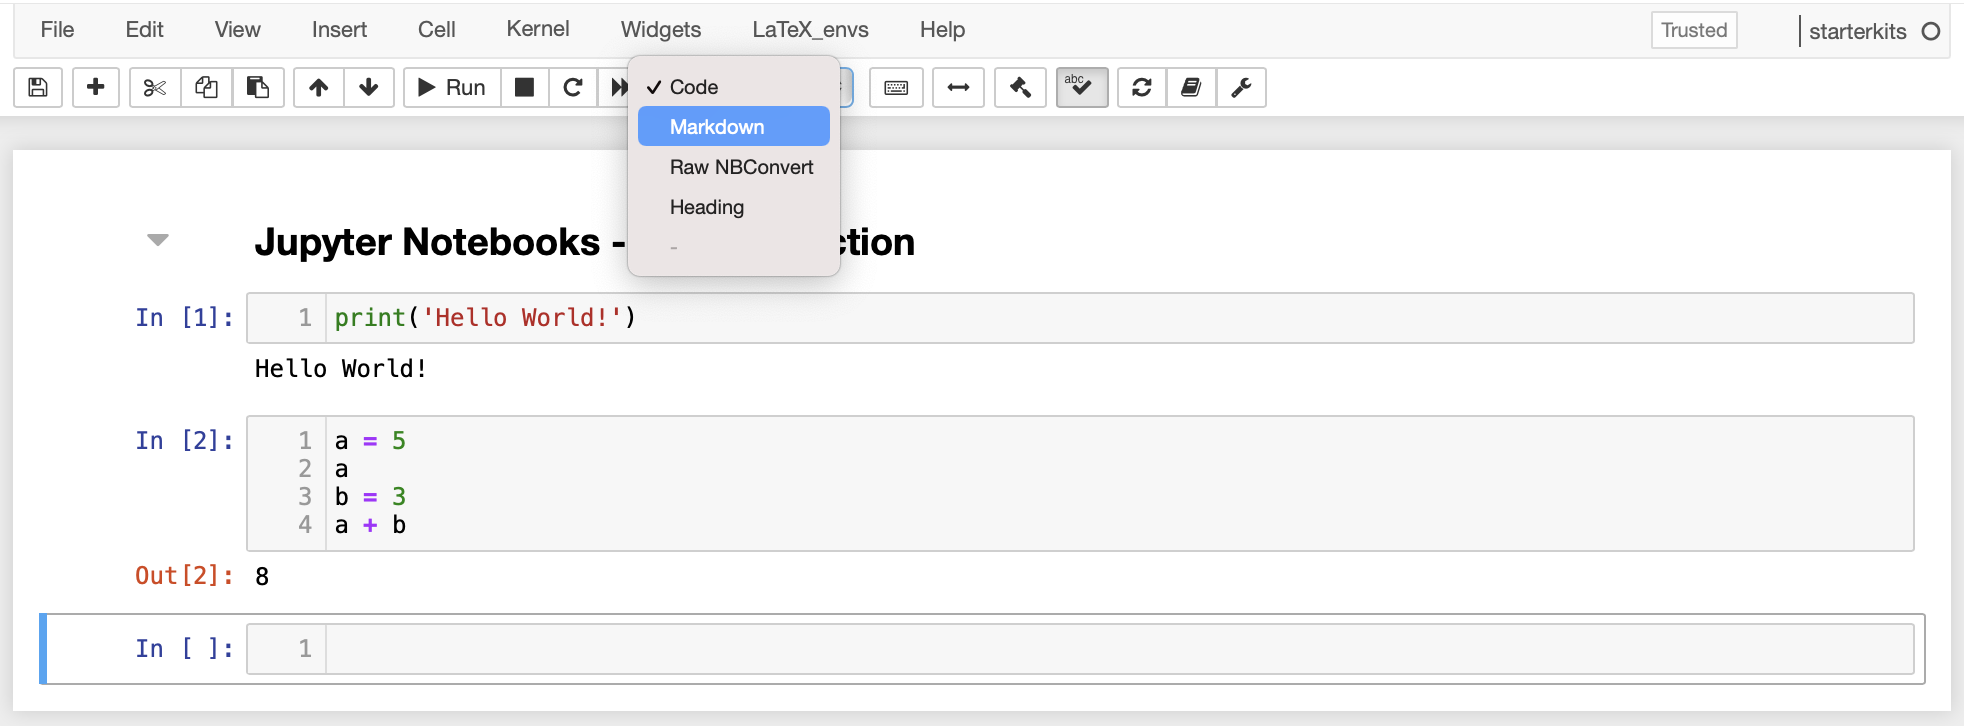
After doing so, you can enter some text in Markdown format around your cells. Test it by entering
This was a **nice** example!
into a Markdown cell and execute it just as a normal code cell by pushing the
button.
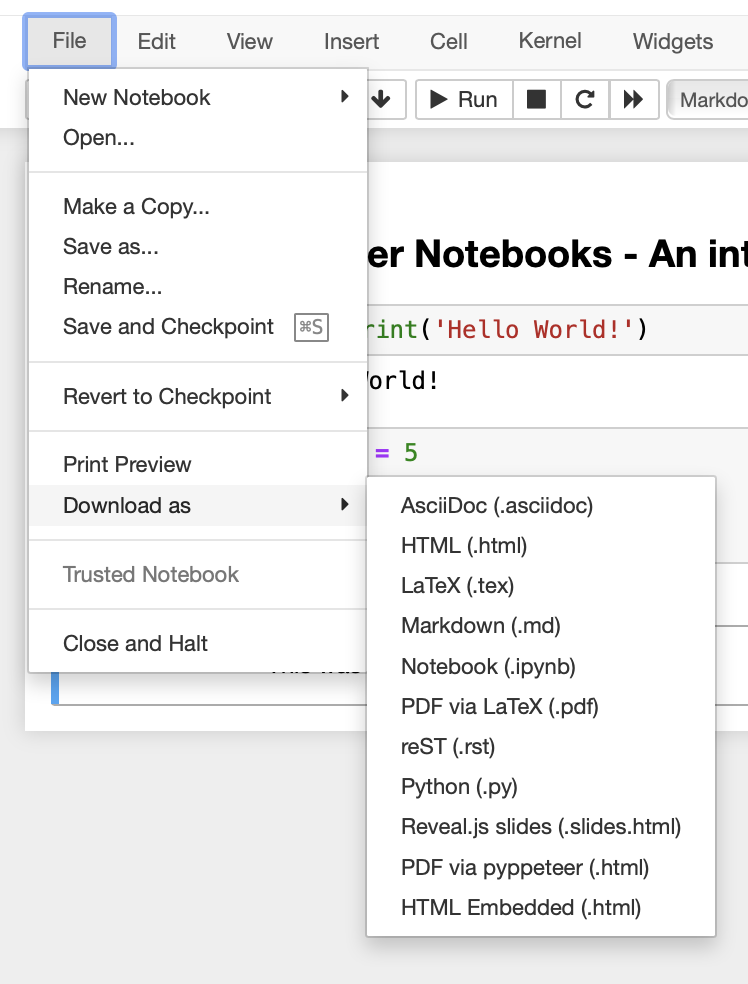
How to save a Jupyter Notebook?
Once you are done with a notebook you have two simple ways to share it with others: * Directly as a Jupyter Notebook. If the recipent has a Jupyter environment, he or she can directly continue working on your code. * Otherwise, you can also export the Notebook in html format:
Bibliography
[1] https://jupyter.org/